
Anyway. I've made stamps before. We actually made some in my design class last semester using gum erasers and X-acto knives to explore pattern and it was really fun. I came up with a handful of cool stamps. But I've always wanted to try these kits because it comes with proper carving tools and and rubber blocks. As to why it took me 4 months before I actually used it, welp. University, guys.
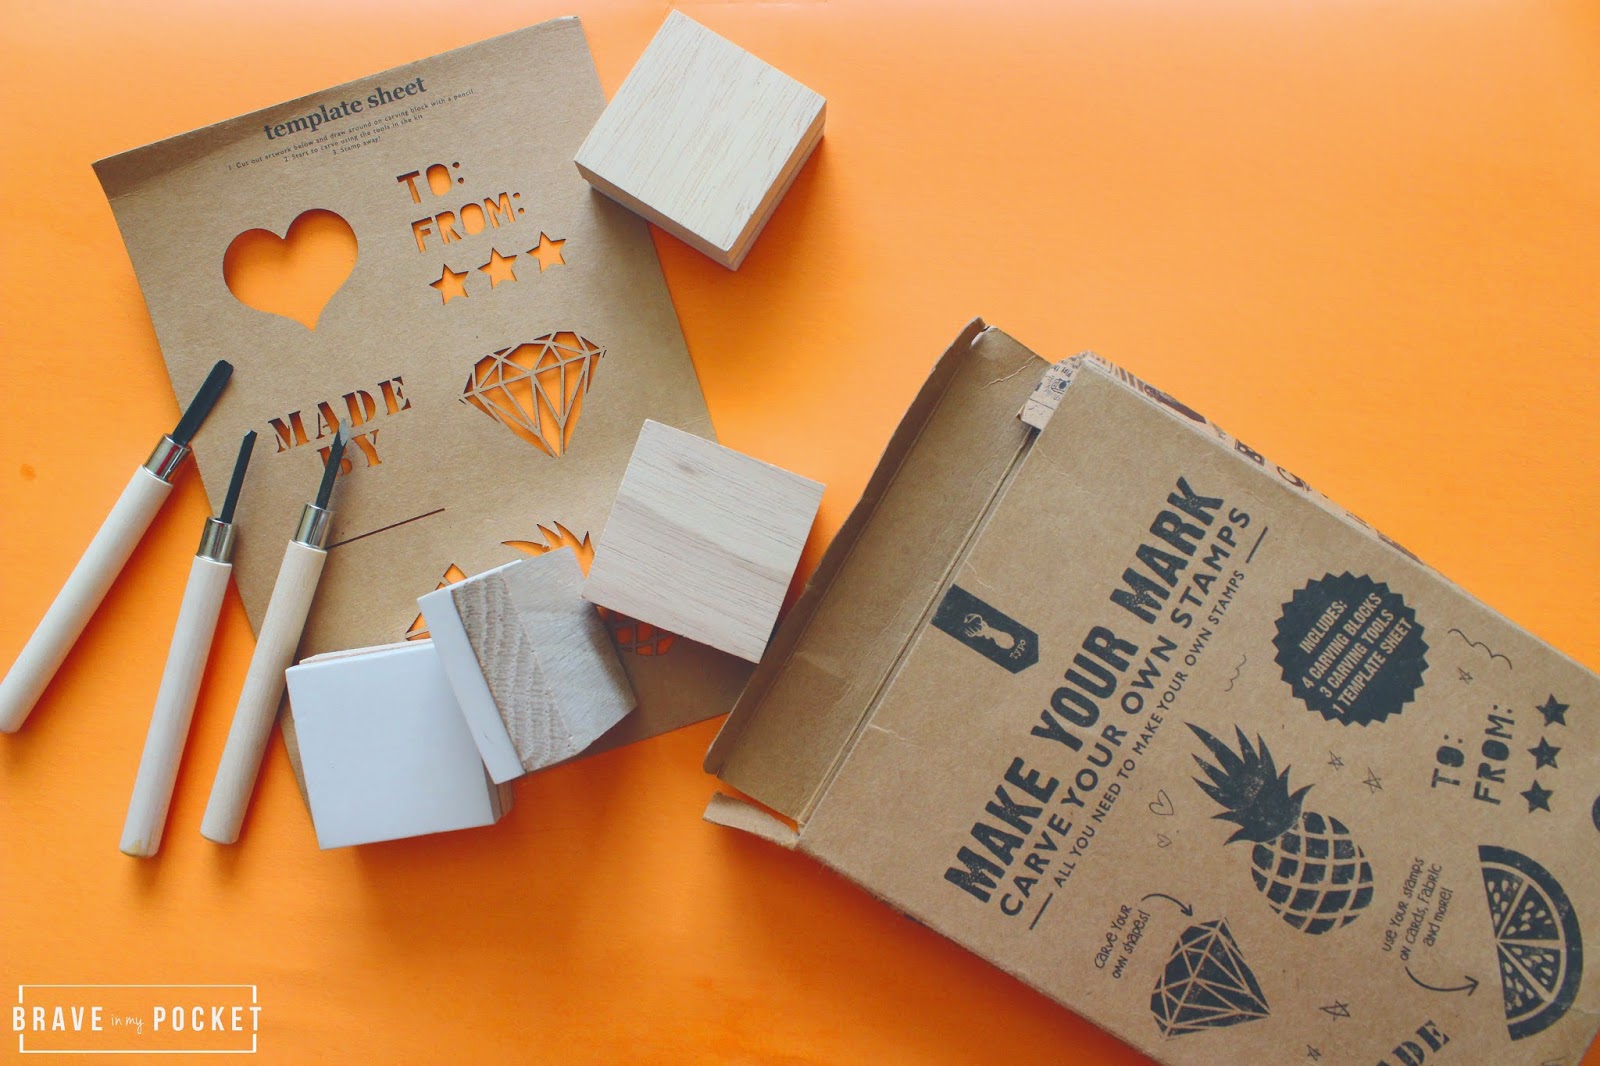
So let's get down to it. The Typo stamp kit comes with four rubber blocks, 3 carving tools, and a template sheet.

STEP ONE: Draw that thing! I didn't use the template because I didn't really like the designs. I found my younger sister's copy of Peter Pan on the coffee table and I really liked the leaves, so I just drew that right on the rubber block with a pencil. I shaded in everything that I needed to stay.
some tips:
a. Stamps work as a positive space vs. negative space thing. So for me, everything not shaded was going to get carved off, everything in pencil stays. Just keep in mind if to you, pencil means stay, and no pencil means go.
b. If you're using a design like mine where there are kind of thin lines, you need to make sure it's thick enough to hold on its own. It's really easy to accidentally shave off more than you intend to and then have the whole thing fall apart. Plus, it's easier to remove more later than to add. So stay on the safe side and keep your lines fairly thick.
c. If you want to make a stamp that involves letters, make sure that they are flipped. So, your design becomes the mirror image of your letter/word because it will be flipped when you put it on paper. I suggest getting some cardstock or an old cereal box, drawing your word/design on that and cutting it out. Flip that template and then trace it on your rubber block. It might make it easier than freehand drawing flipped letters.

STEP TWO: Carve that thing! I like outlining my design with the straight blade before carving out the bits with the v-shaped blade. It just makes it easier and ensures that I don't accidentally carve out stuff I need. (Also, the rubber shavings look like shredded cheese. Okay. Just had to say that.)

STEP THREE: Ink that thing! I used little ink pads a friend got me for Christmas. I'm not entirely sure what brand it was but it came in a pack of 16(?) colours. I'm sure you can find it at most craft stores like Michaels. To get the texture on the leaves, I kind of just stabbed little lines into the leaves with the straight blade. The lines transferred quite well, I'd say.
So there you go! Stamps. Now I couldn't find this exact same kit on the Typo website but you can get the Speedball stamp making kit on Amazon, which I heard was also really good. And like I mentioned, you can get away with just a couple of erasers and a craft knife. It's especially good for those of you that are just starting with this stamp making thing and don't really want to spend money on a kit.
I hope you do something cool this weekend,
Patty


0 comments:
Post a Comment